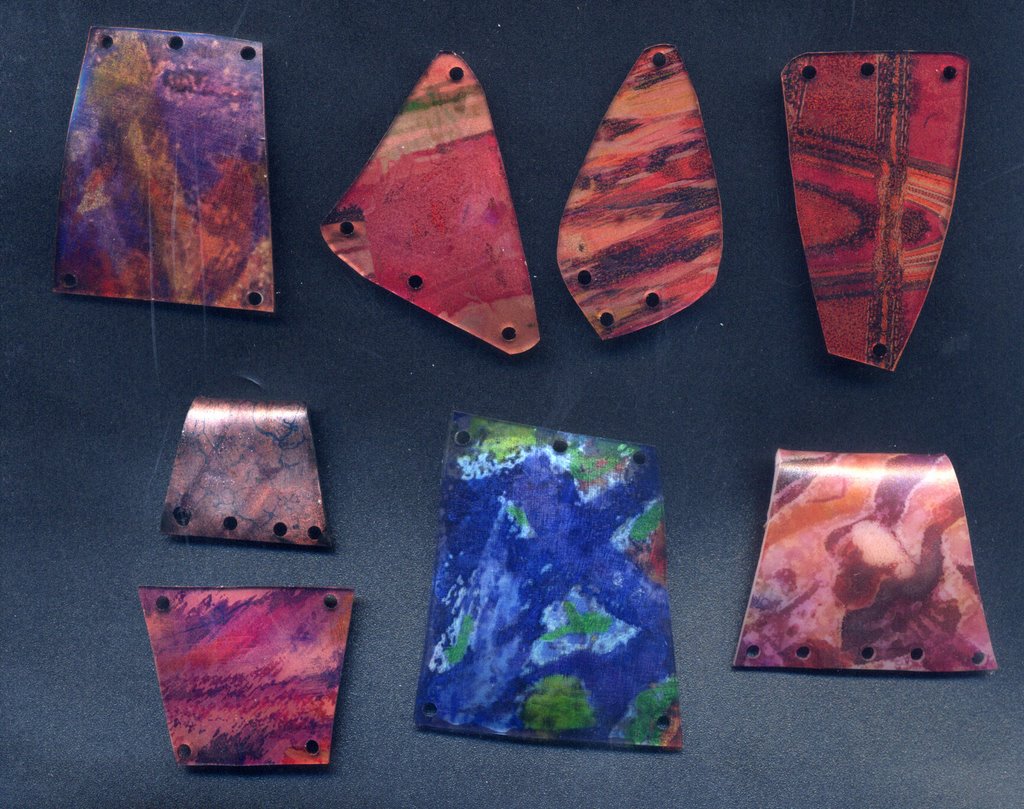
Isn't serendipity a joy? The smallest pieces here were done on clear unsanded Polyshrink run through my Epson printer with Durabrite ink.
I put them in the oven and forgot to watch them. They may have baked for thirty minutes. Normally, the side not printed on remains shiney and I put copper or gold paint on the other side. This time the shine was gone. I sprayed the non-printed side with gloss sealer and liked the looks. I rubbed on some Pearl-ex and then sprayed again.
They don't look much different here than the other pieces, but they really are nice and have a great feel to them. When I do patterns for these pieces in Photoshop Elements, I also invert the colors, so the blue pieces here are the same design inverted.
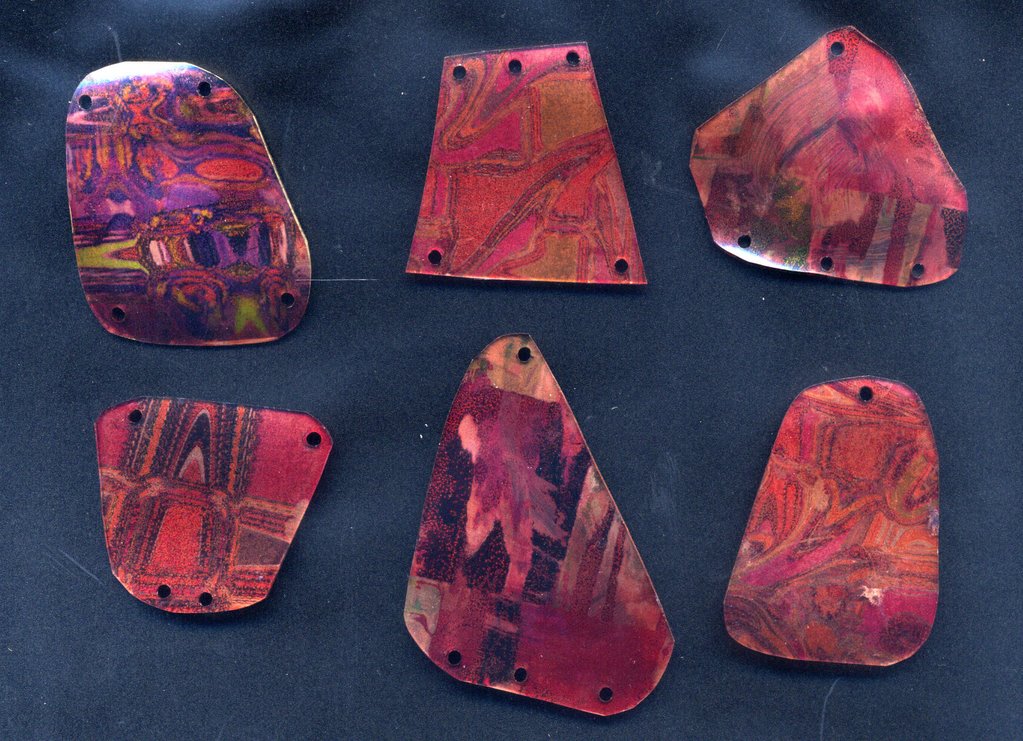
The two redpatterns on the bottom right were done on Polyshrink unsanded translucent. One has the top curved down to make a loop for a cord. I did the edges and backs with a metallic red leafing pen. I sprayed them with sealer,n rubbed them with Pearl-ex and sprayed them again.

Here are some more. Most were done on clear. The small piece on the middle left was done on black and painted and stamped.
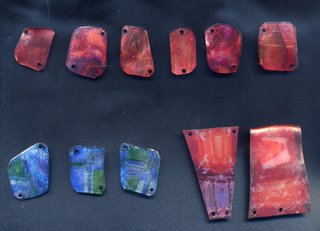
The one on the left is again done on translucent and the top bent down for a loop. The ones below are on clear unsanded and represent steps on the way to other patterns.